poeticlaughter - life & beauty through the lens of love

Menu

Skip to content
  • About
    • Tiffany
    • FAQS
  • Beauty
    • Accessorize
    • Alternative
    • DIY/Tutorials
    • Reviews/Hauls
    • Skincare
  • Lifestyle
    • Celebrations
    • Career
    • Money
    • Relationships
      • Marriage
      • Family
      • Friends
      • Church
      • Etiquette
  • Decor
    • DIY/Tutorials
    • Home Tours
    • Office Design
    • Remodeling
    • Stylish Finds
  • Culture
  • Travel

Decor

I’ve Gotten to Be Creative!

12 / 30 / 1812 / 30 / 18
Christmas Drinks! Thanks to a special friend for the gift card!

Hello Everyone!

I’m so excited that I was able to have time to be creative over the last month or so. Thanks to my amazing husband and family, I’ve had a little bit of free time here and there to de-stress and enjoy crafting. I’ve always loved making things with my hands and baking. With Bella, I haven’t had a lot of time, energy, or funds to do it! For Christmas I received some awesome craft items from generous family members and I discovered felt quiet books as well!

Jaxson’s Quiet Book

Jaxson’s finished quiet book

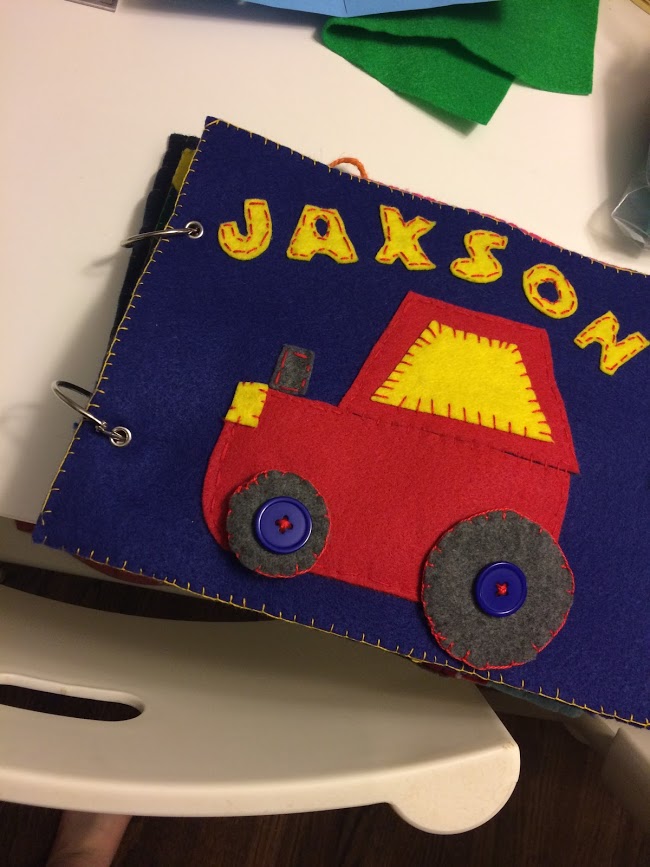
I learned about Quiet Books and became obsessed with them. I started by teaching myself and cutting everything out and sewing it by hand. In the end I learned how to do a blanket stitch, install grommets (metal rings) and follow free patterns. The other things I knew how to do before.

Dump Truck in Progress

I used templates from the blog Imagine Our Life (thank you!) as well as some I found online and others I freehanded.

Farm friends!
Dustin modeling the puppets
Pages being planned

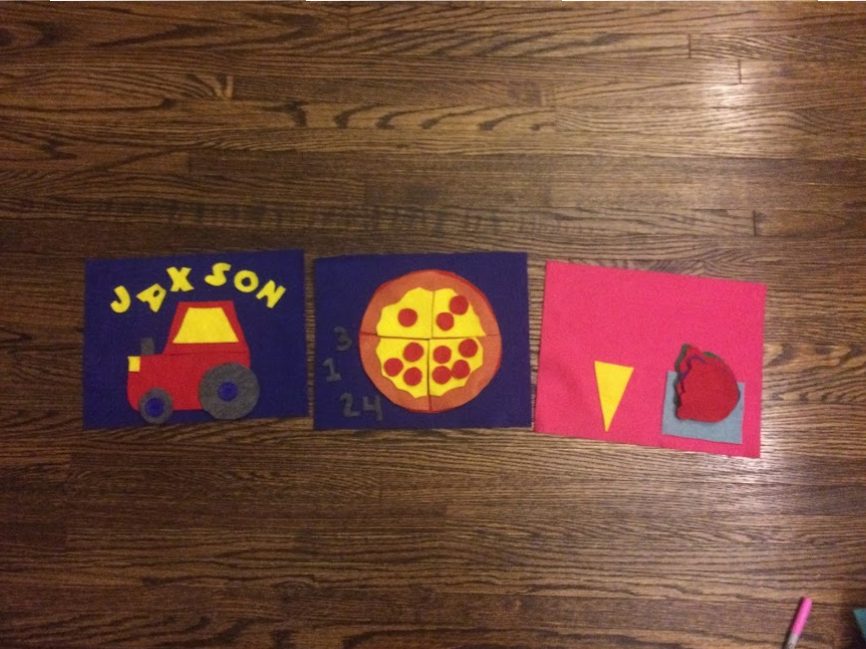
In the end, I made the following pages:

Cover Page, Tractor, wheels spin

Pizza Page, Pizza slices with pepperoni can be counted and can Velcro onto right spaces

Ice Cream Page, Stack a fun colorful ice cream cone

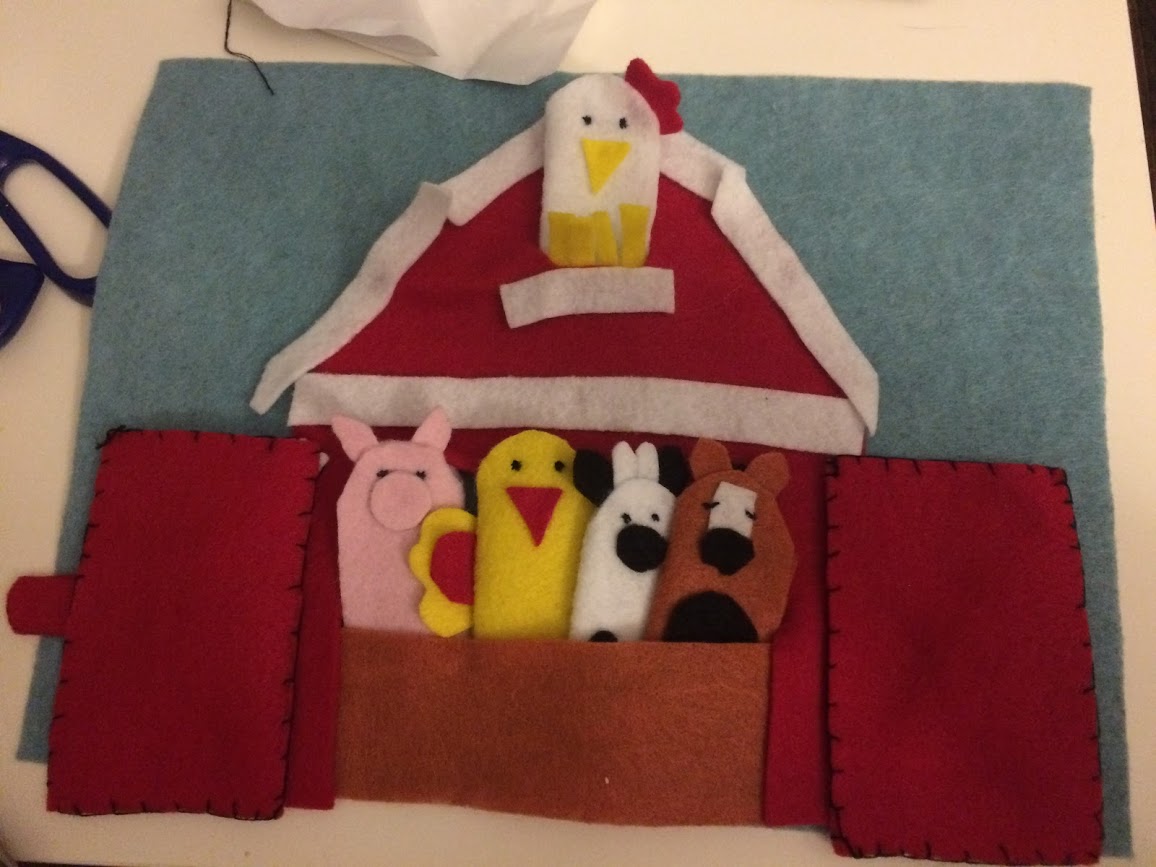
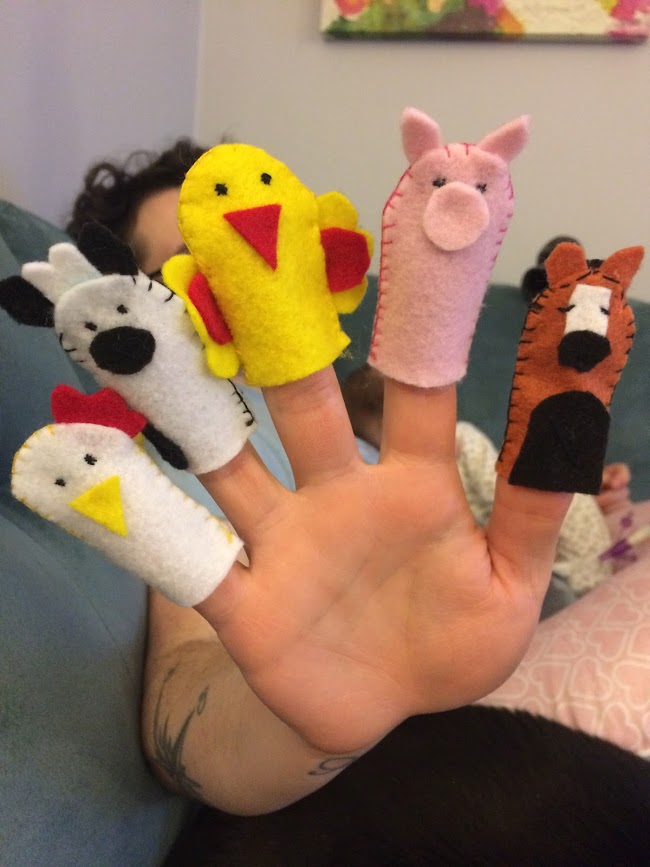
Farm Pages, Finger puppets with open/close barn doors, Page for puppets to “play”

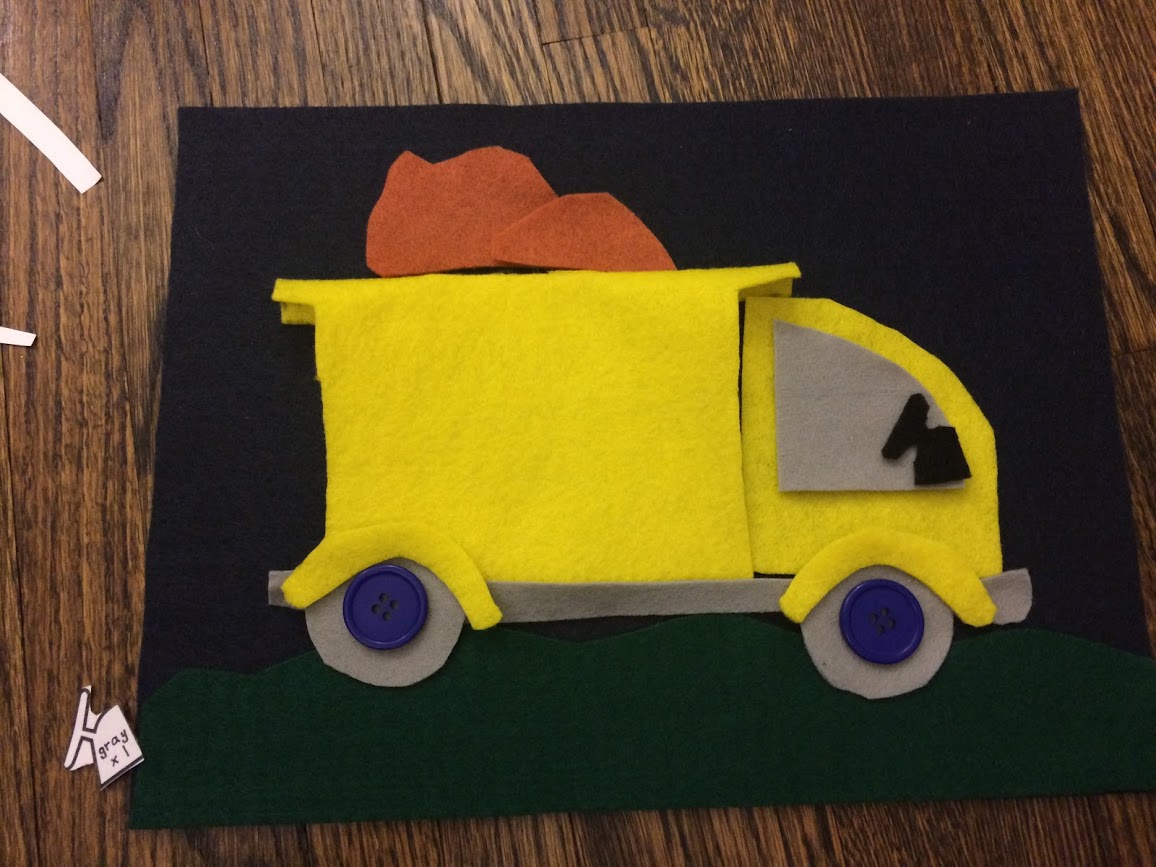
Dump Truck Page, Dump Truck “empties” and you can take rock in/out of truck bed

Bella approves

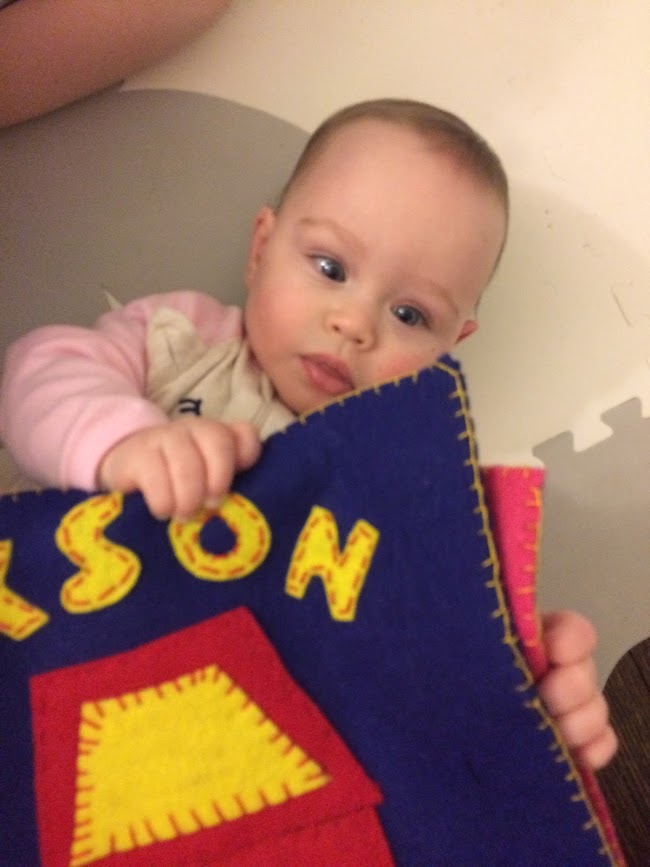
I bound the pages with grommets and binder rings. This way. I can add/subtract to the book. I choose to finish off each page individually so that we could interchange them easier. Believe it or not, I never took pictures of the finished book! I gifted it to Jaxson and forgot to do a video of the book pages. I will have to do that. A lot of these pictures aren’t or it finished but in different stages. I loved it. It took a lot of time though, and planning!

Baby Christmas Felt Books

Who are these going to?

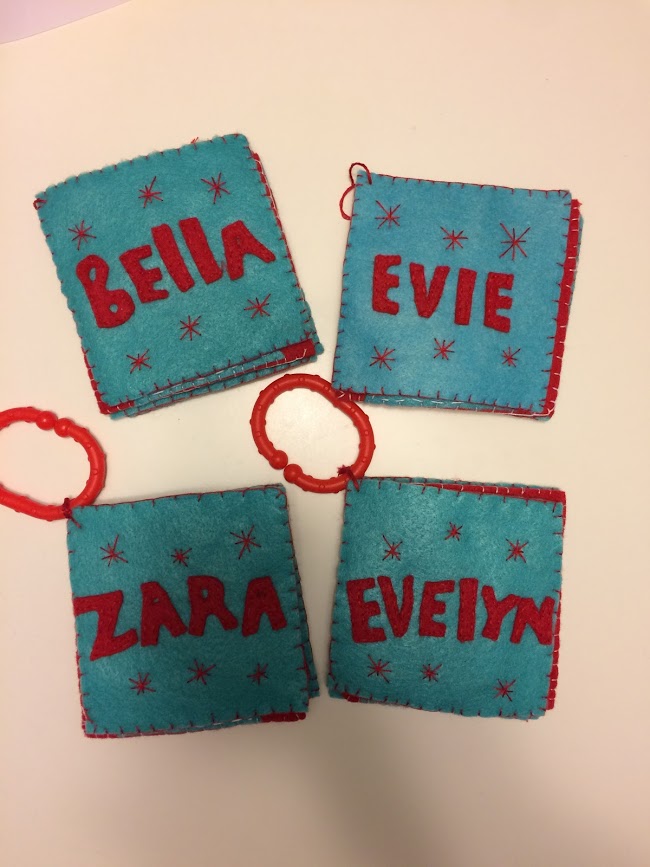
Then, I decided to make Christmas themed baby felt books. I made a total of 4. They also took more time than I planned! Almost all of these I freehanded but the fox. I found the pattern here.

First Page with name

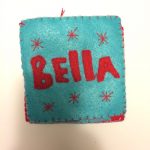
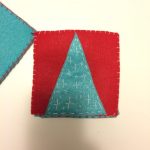
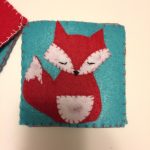
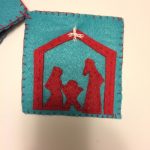
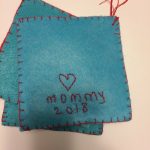
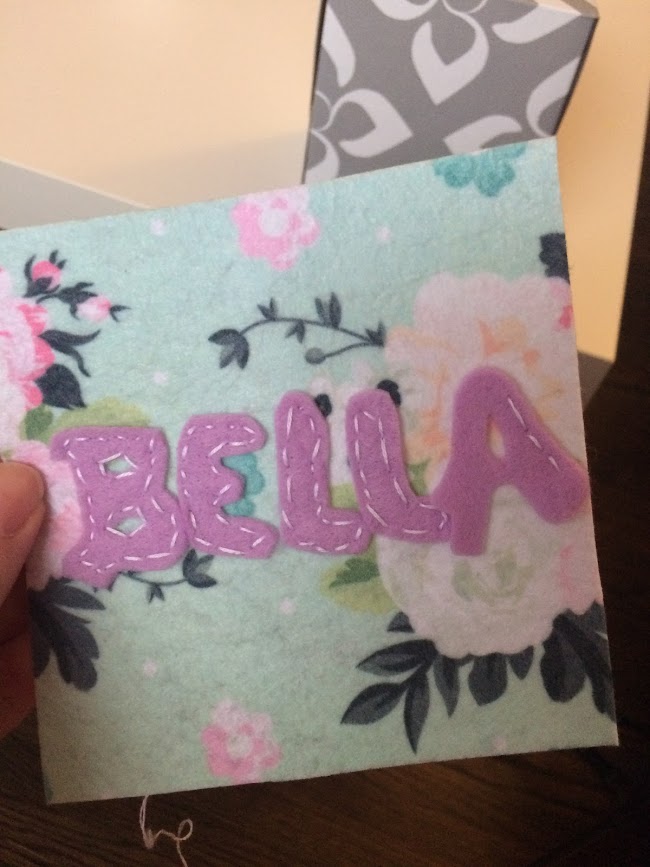
I really loved how these turned out. I stuck to easy silhouettes and only used embroidery thread and felt. I struggled with binding them, since I didn’t want to use the grommets or things that could be a choking hazard. I ended up threading them together and tying a knot. For two of them I attached them to little baby links. Of course for Isabella’s I had to “sign” it on the back. Each had 4 pages. They are pretty small. Jaxsons was bigger, but these were meant to be handled by little fingers!

Bella with her quiet book

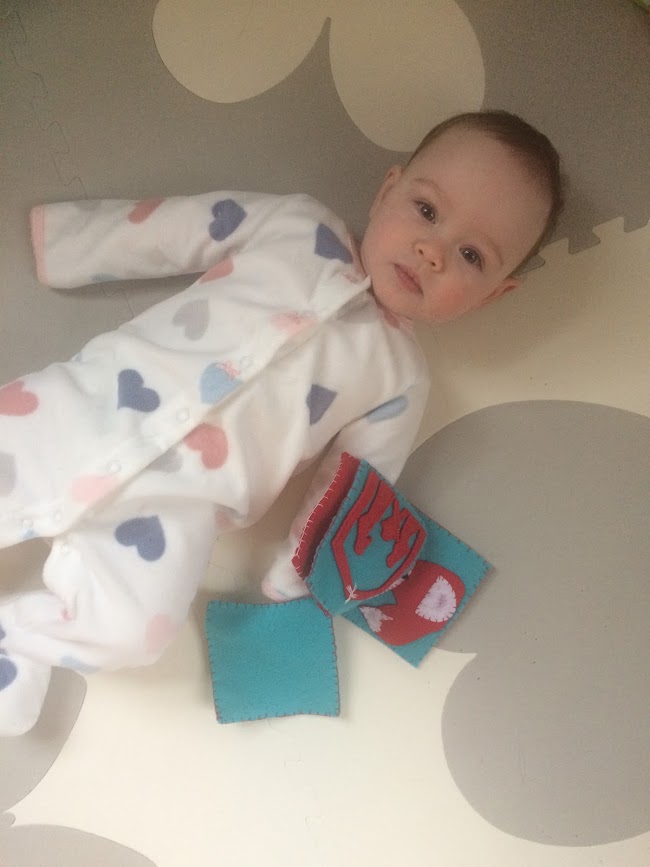
Bella’s face doesn’t show it, but I swear she loved it and enjoys the contrast!

I began a baby book (first) when learning but abandoned it because I switched to the Christmas idea. Below is where I began and I’ll get back to completing it eventually.

Another little book I began

I Got to Bake!

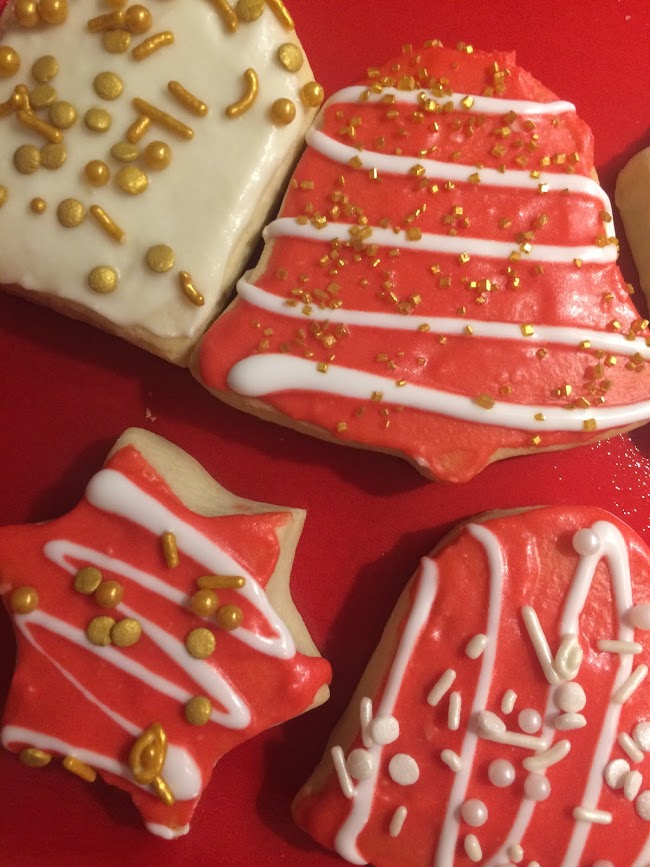
We have an old German family recipe for lard sugar cookies. Yes, lard! It’s crazy but really addictive. I’ve been making and eating them since I was a little girl. We made them with my dad (as always) and I was creative and decorated the ones below.

Beautiful family sugar cookies

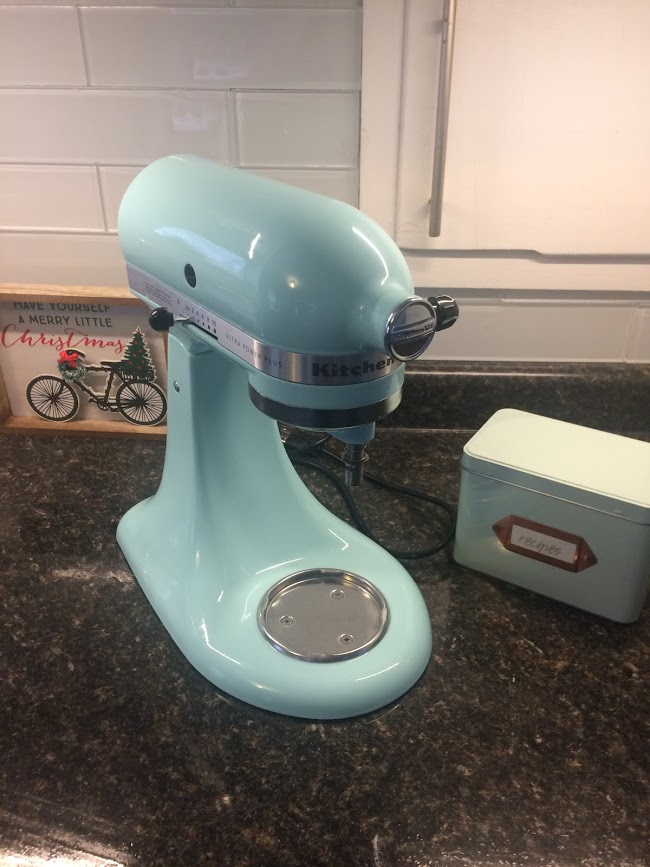
I also was able to get my mixer out! I made some quick peanut butter cup cookies. They were a big hit at our family get togethers. I didn’t make my fun “twisted buckeyes” but may make some for New Years Eve.


Breaking out my favorite kitchen item!

Fleece Blankets

Money has been a bit tight this year! We cut our budget back by quite a bit. Instead of buying everyone on our list individual gifts, we made everyone a fleece blanket! This was fun because

1.) it was pretty cost effective (no blanket was more than $17 each) We bought the kits from Joanns when they were 40% off. 

2.) it gave me something to work on and craft

3.) each was picked out based on the person’s likes

Blankets for everyone!

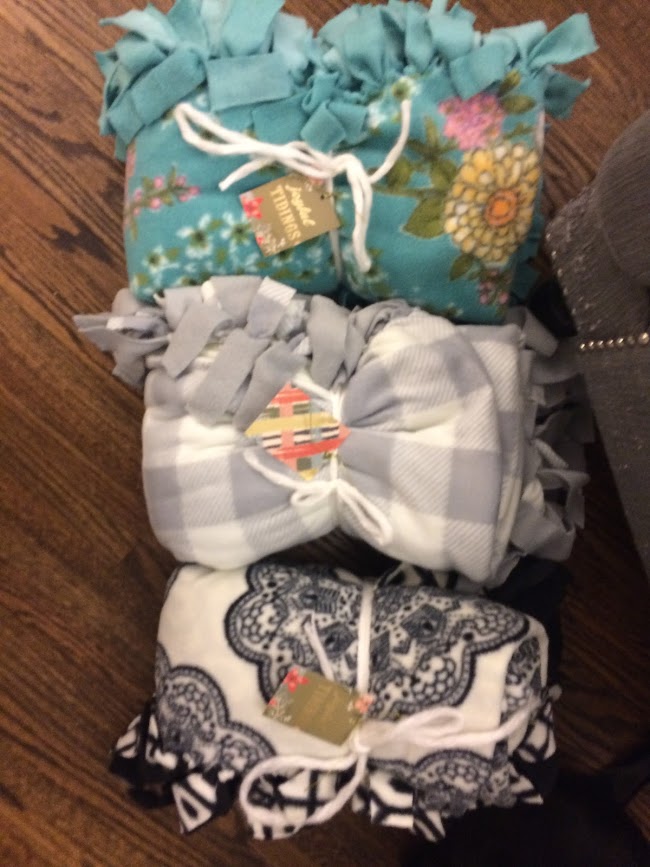
Everyone liked theirs. They wash up really well (I’ve washed mine A LOT with Bella vomiting) and I did a different tie which made the prints switch sides. It was more of a “in/out” fold instead of a tie. It helped the blankets to lay nicely. I’m not sure what it’s called. I used this video and cut the notches.

This project took longer than I thought as well. Haha. I was rushing around trying to finish them in time. I folded and tied them with yarn.

I Got A Cricut! And Used It!

My craft/office corner

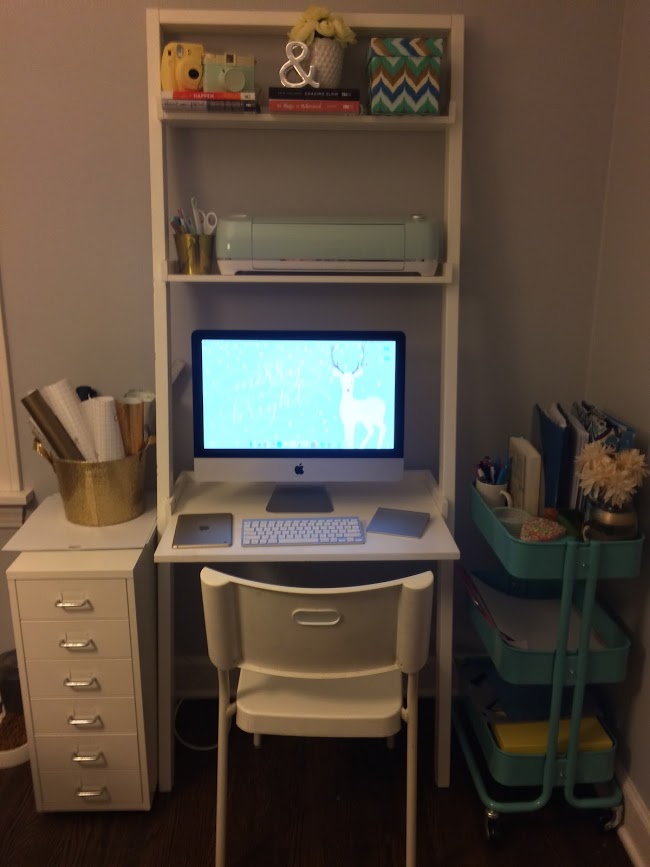
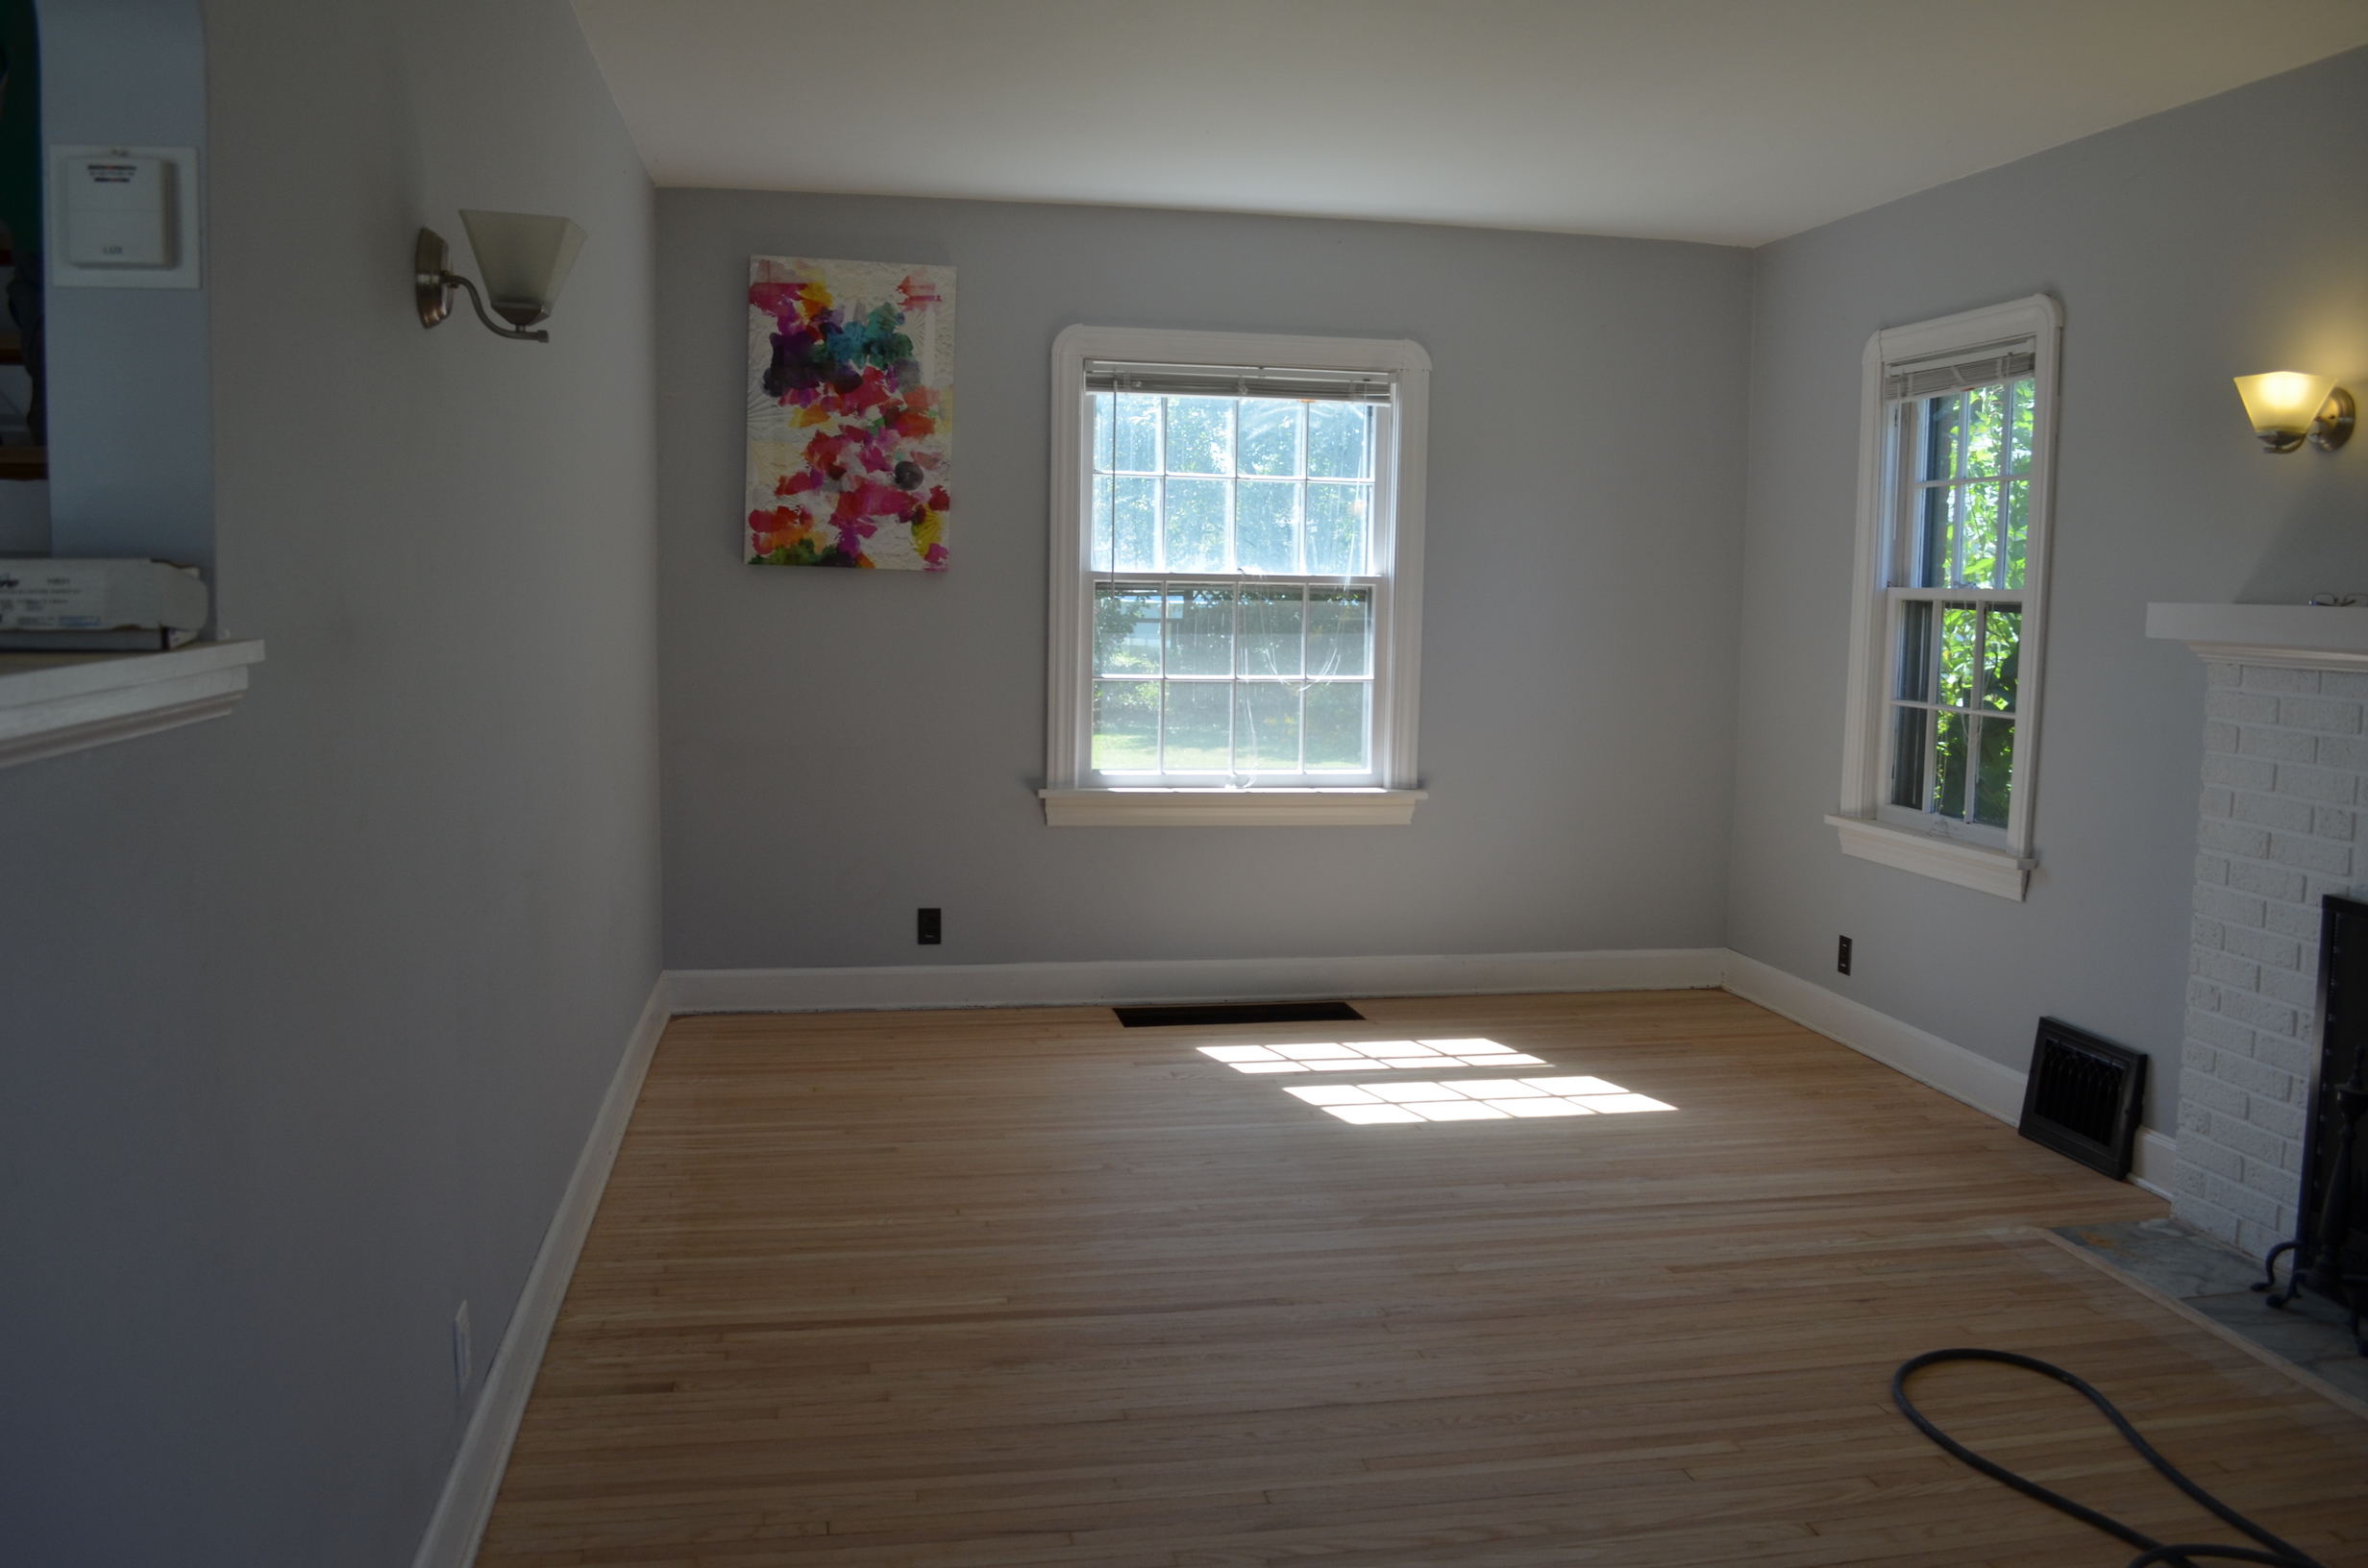
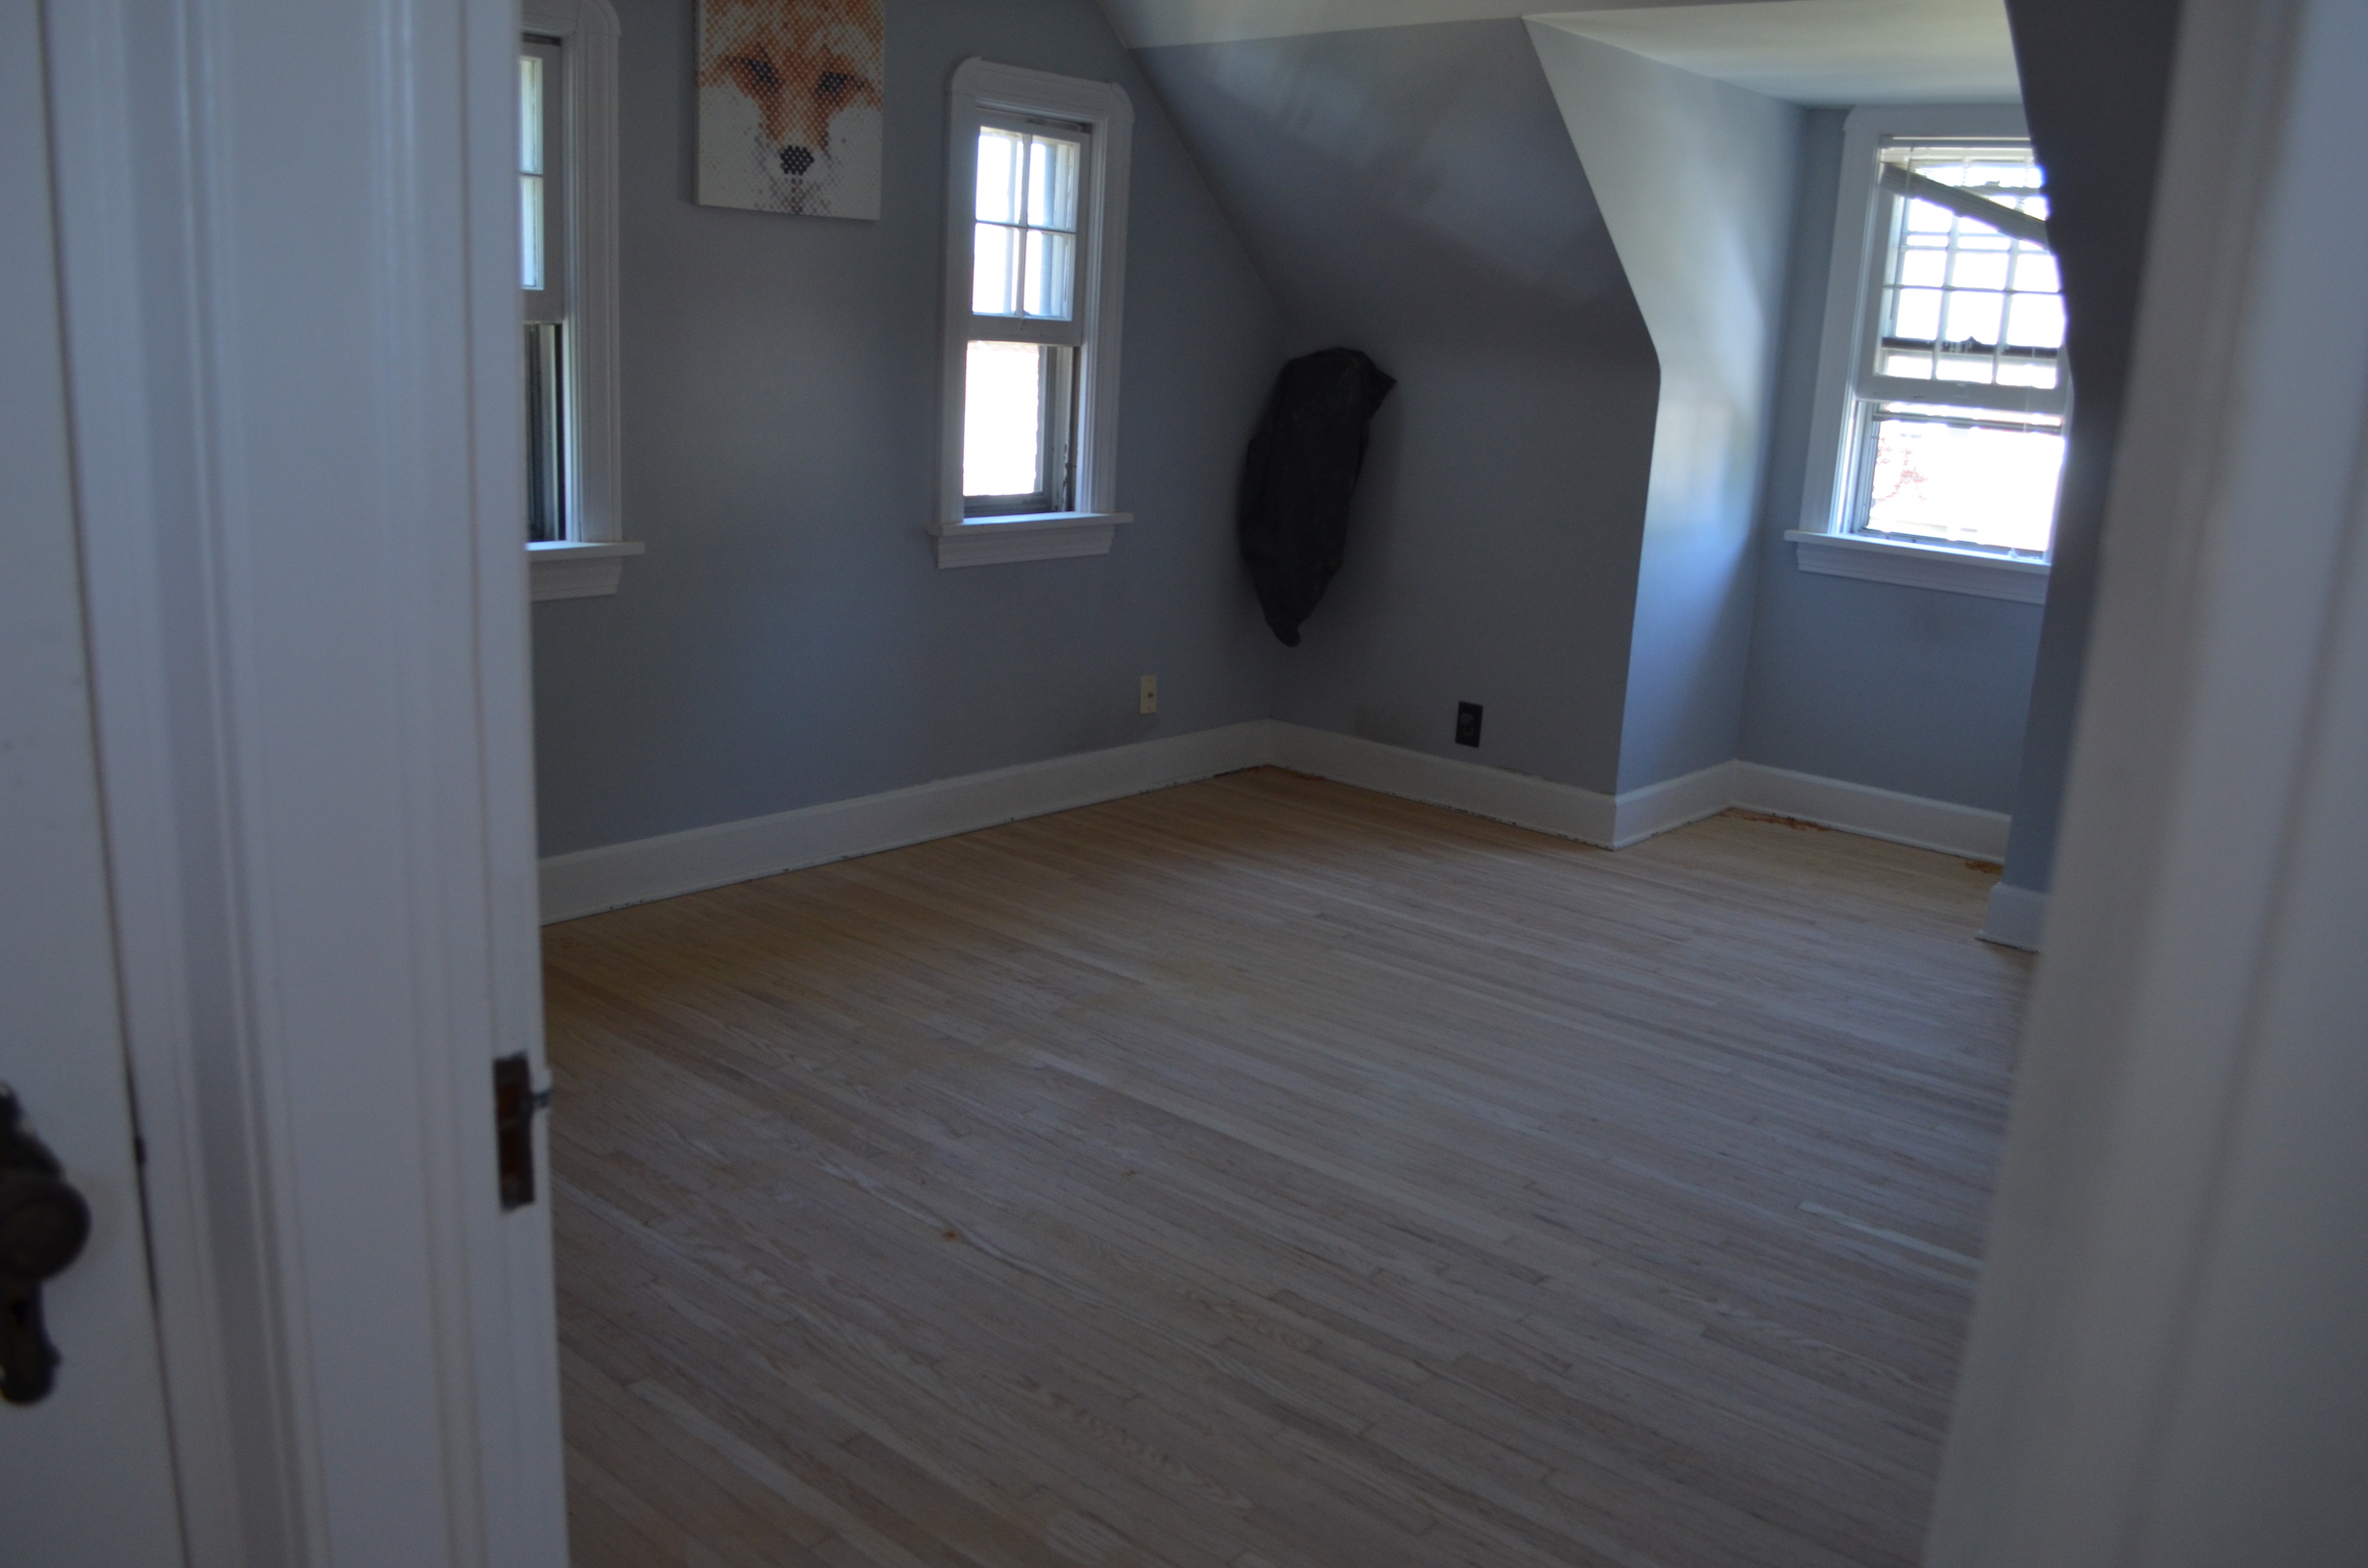
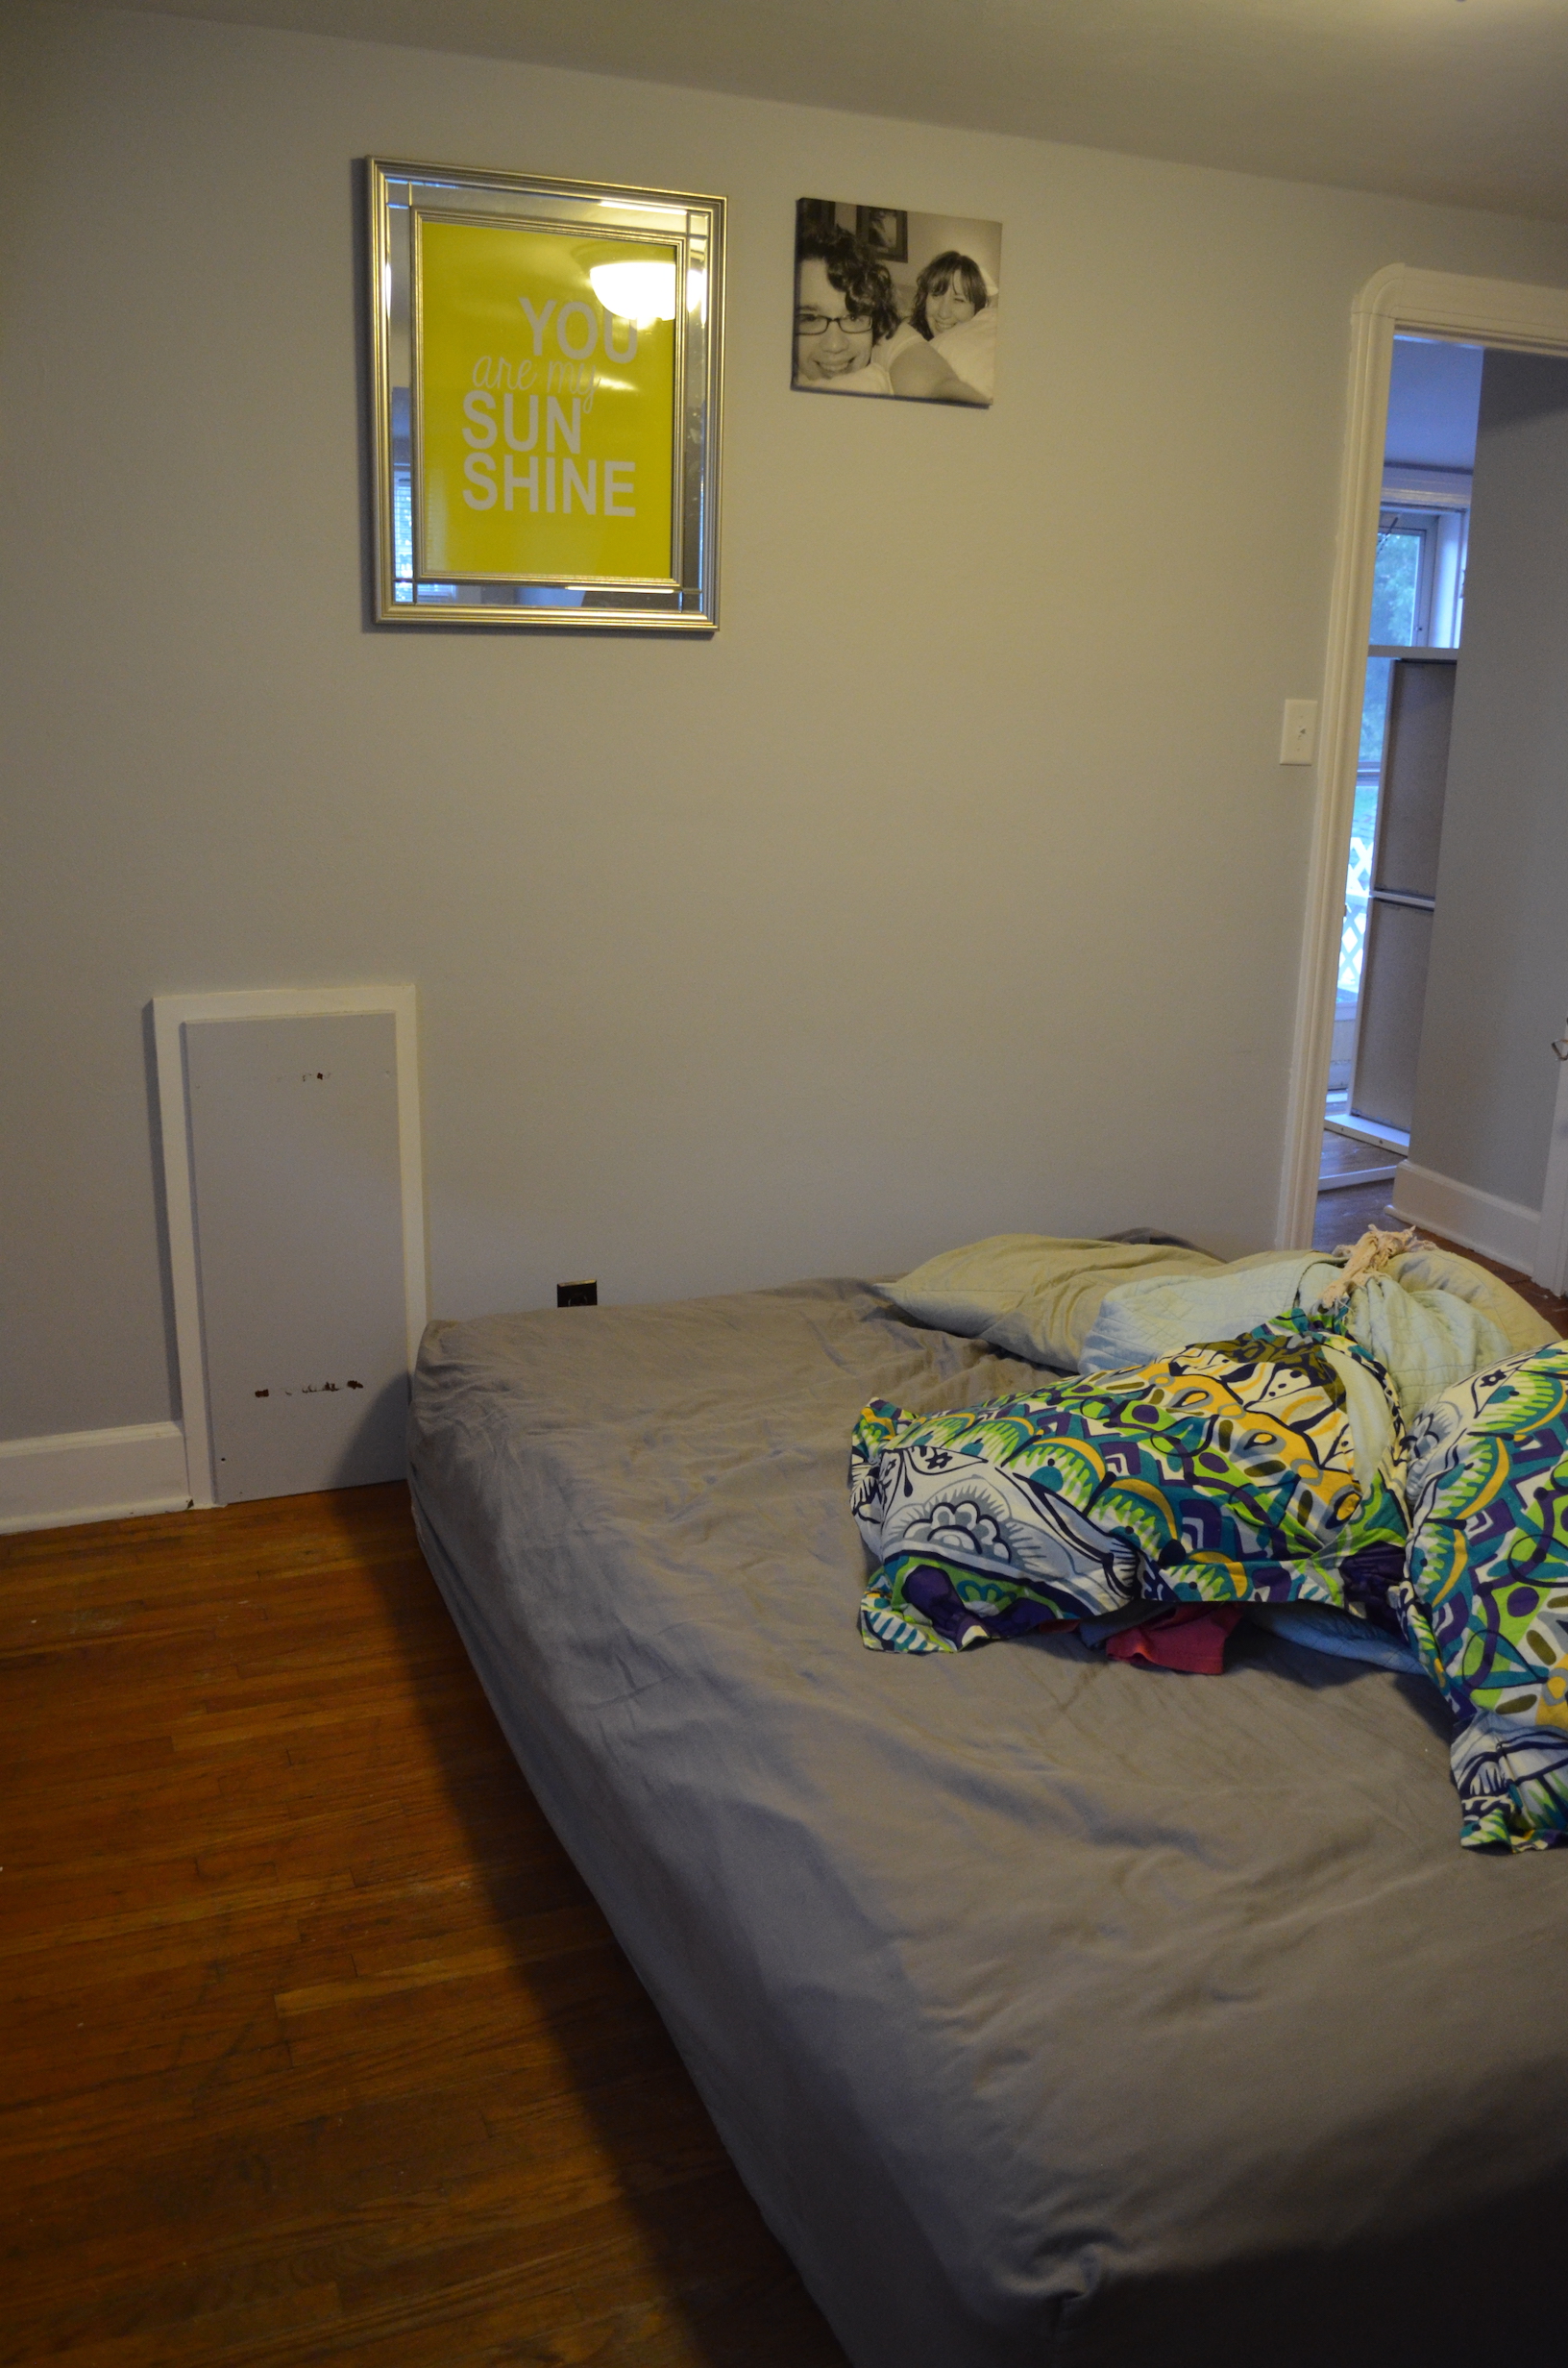
Not the best lighting above, but you can see that I’ve been busy organizing my office/craft space. I’ve moved it upstairs and in the dining room. I received the Cricut Air 2 in mint for Christmas from my dad and other wonderful accessories from other family members.

Cricut 1/2 off sale!

Before Christmas, I used $50 to get everything above. It was all 50% off at Joanns!

Mint Tool Set

I received this tool set (it matched my Cricut) and new mats!

MY first vinyl project

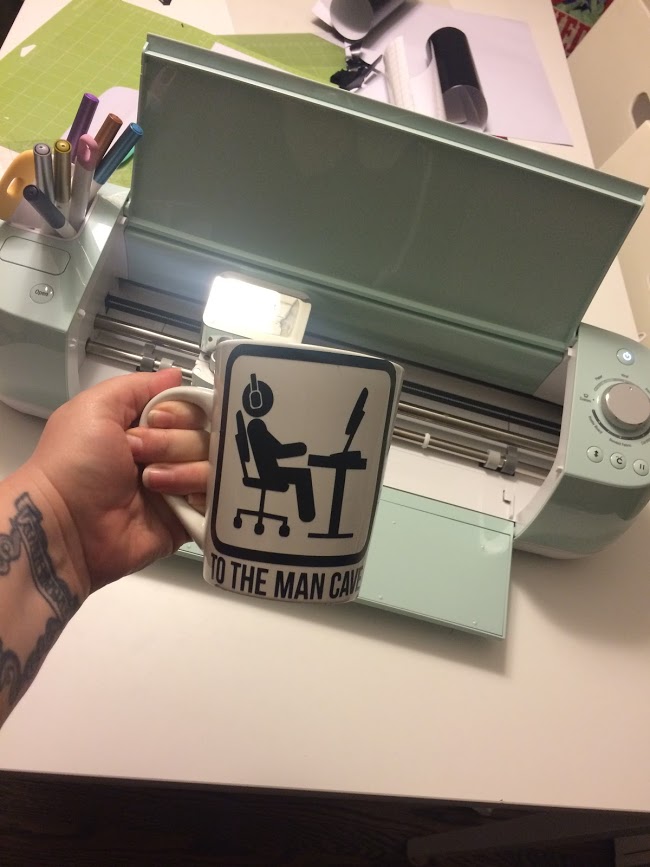
I’m still learning, but thus far I’ve made mugs with vinyl, phone decals, platters, cards, Christmas decorations, coloring sheets, and more.

Merry and Bright

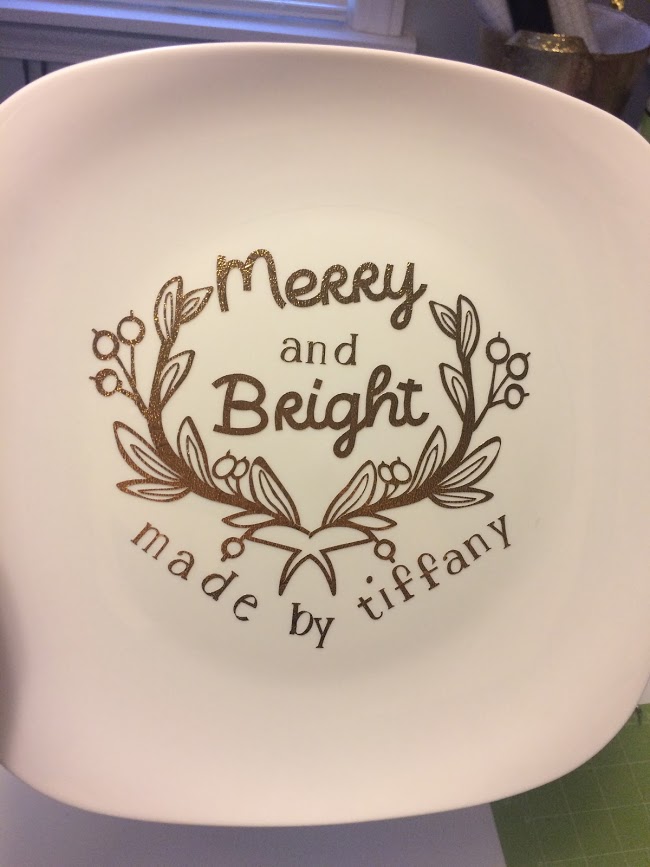
This fun personalized platter was bought at the $ tree! I used my Cricut to cut permanent vinyl for it. I placed my peanut butter cookie cups on it to take to family get togethers.

The mug I made for Dustin was my first attempt. I don’t love it because it’s too big, but it held up to our dishwasher and is fun. I will probably redo one and make the design smaller.

Village

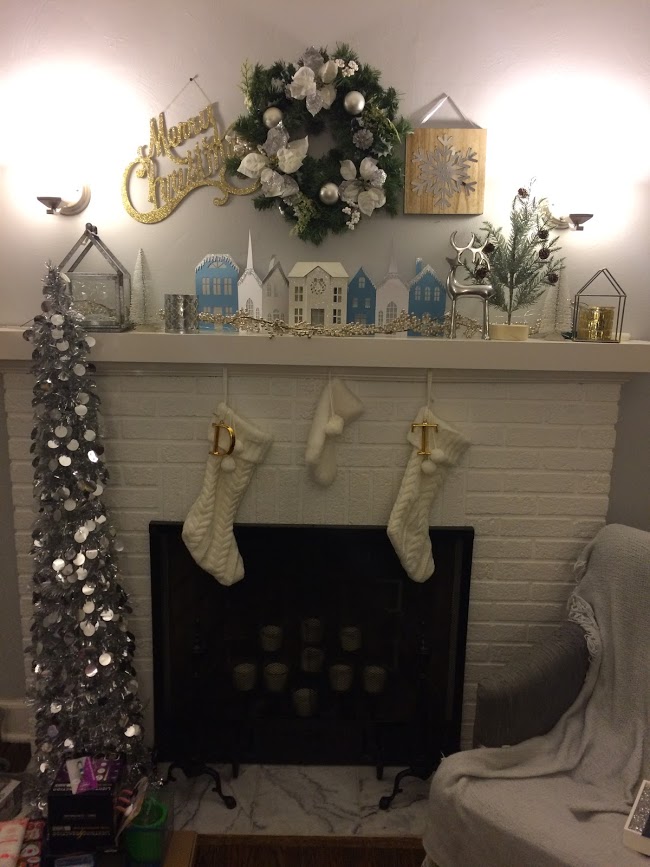
I really love the Christmas village I made with cardstock and vinyl. It was one of the “make it now” projects. I already had a glittery metal house on my mantel. I added this fun accordion style paper village behind it. You can place tea lights behind it as well to make the windows glow.

village on mantel

I adore the glitter snow on the rooftops. It feels so cozy

stockings and paper village

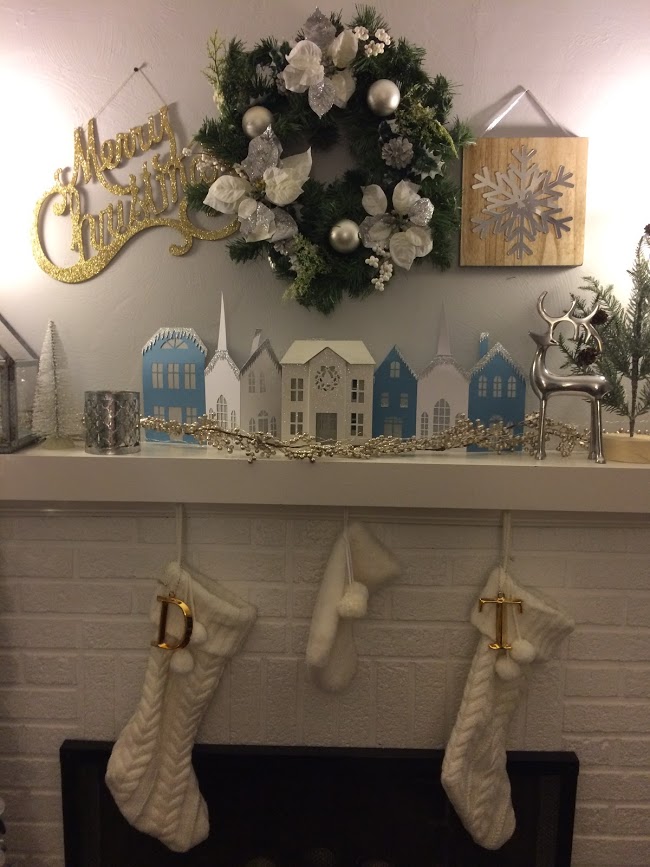
Instead of only using white, I added in blue for a pop of color.

Baby Craft

Mistle Toes!

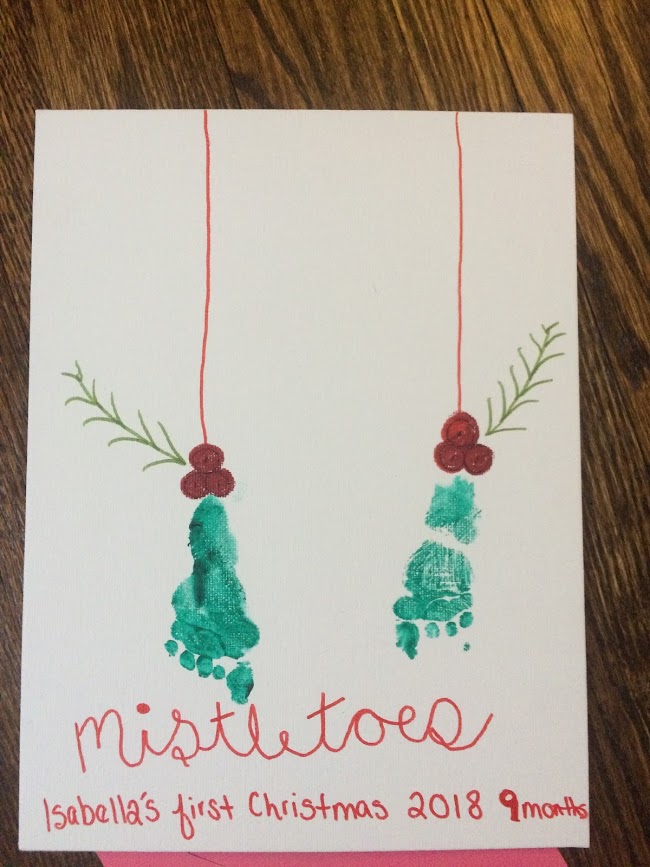
I saw this idea on Pinterest and had to try it. I wasn’t crazy about it, but was bored and wanted to make a Grandparent gifts from the baby. I made a big mistake by getting her toe nails dyed green after applying water color paints! haha The cards weren’t perfect, but it was a free craft (I had all supplies at home) and I had fun making memories with Bella.

You can see I’ve been pretty busy crafting! This has helped a lot with stress. It’s been very fun to work with my hands and make beautiful things.

Hope you had a blessed Christmas,

T


Leave a comment

Living Over 100 Days in the NICU

8 / 10 / 18

It seems like just yesterday that we left the NICU at Akron Children’s Hospital. I have very many mixed memories of that place. Some of the scariest times of my life happened behind those walls and some of the happiest.

In the midst of a dark time we did our best to make the NICU home. Years ago I bought an art print that says, “Home is wherever I’m with you.” (Yes, it was bought from Urban Outfitters and Edward Sharpe and the Magnetic Zeros were popular…ok now listening to them on repeat).

Since our marriage, Dustin and I have moved six times. It’s funny to add “NICU” to that list. We spent most nights there but spent 17 at Ronald McDonald House and once a week at home to rest up. I plan on writing a lot more about making the NICU home and our experiences there. In the meantime, enjoy this video I took near the end of our stay. You can tell Bella is much more stable and is even in an open cot!

XOXO

Tiff

Leave a comment

Ugly Floors Be Gone! Refinishing Our Hardwood Floors

2 / 10 / 172 / 10 / 17

One of the biggest things I loved/hated about our home were the hardwood floors. I loved that the ugly, nasty, smelly carpet was gone, but I hated that the wood floor left behind had discoloration, stains, and a lot of water damage. I tried to overlook it and we didn’t invest in the floor being refinished for about a year. It was a good practice in patience.

We knew that having the floors refinished would be expensive, so we hoped to do them ourselves. After doing LOTS of research and asking others, we decided to have a company do it for us professionally. We hired Cardinal Flooring who had done some of our friend’s homes in the area. They were a Christian-based company and they gave us a good quote. Our entire house (all floors, closets, and stairs) would be $2,500. This is a BIG amount of cash, but we were certain that we would see the money back when we sold the home. Did I mention it NEEDED done?

I made sure to take lots of “before” pictures. Here are some of them:

The previous owner had caulked the window closed and water had gotten between the wall and onto the floor. The water damage looked more extensive than it was, but it was still super ugly. When friends came over, I tried to hide this ugly-ness. But, it was what it was, we were in the middle of the process.

Upstairs there was this massive stain. Later, we found out what it was. (Long story short, an elderly woman fell and laid here for a few days. She was found and taken to a nursing home, but she had urinated and it ate through the wood. Yuck.)

Above: general damage from water/use.

We had left all the paint splatters on the floor as well. We had hoped we would sand them away. Later, I was embarrassed when we hired out the project. The men didn’t even blink and said the sander would get it all. It did indeed! A few more pics of before:


We knew after talking to Cardinal Flooring that it would be best if we weren’t in the home while they were working. It would be more expensive if we needed to break the project up. So, we stayed at my dad’s house and closed our three cats into the basement. The trickiest part was getting all of our belongings off the hardwood floors! It was like tetris! Between the kitchen, the basement, and the bathroom, we shoved all of our closet contents and furniture into the spaces.

Yep, that’s my wedding dress in the bathtub!

Our mattress was shoved into the small bathroom.

The first step of the 3-4 day process was the sanding. The men came and got to work. Within hours the entire house looked different. The wood was sanded down and looked amazing. I couldn’t believe my eyes. The floors looked brand new.

I’ll admit, we were tempted to keep the natural wood color. All the stains and discoloration was gone. The men also patched up the water damage. They offered to keep the stain light, but I knew from lots of Pinterest searching I wanted a dark wood stain.

The main man on the project brought out different stains and swatched them for us. I was a little back and forth, but in the end, knew what I wanted. The man was pained to see us cover the beautiful wood, but we felt it would make a dramatic, modern aesthetic. (It ended up being a great choice). We left, and let them do their magic.

What’s the darkest you have?

Do you see where the water damage had been under the window? It’s gone!

Awkward large stain from elderly woman’s urine? GONE! It looks pristine!

My mom had to help me wipe down the walls/other stuff. There was a ton of dust, but not as bad as I imagined. Cardinal put two layers of clear polyurethane. The smell wasn’t too bad, but I’m glad we didn’t sleep there. We couldn’t walk on the floors for a few days. We snuck in and visited the kitties and made sure they had food/water.

At the end, we were shocked. This was one of the best investments we could’ve made into our property. I was very happy with the stain color as well. Many people said it was a bad choice, but once they saw it, were convinced it looked great. The only bummer was we had to re-paint all the baseboards. This was tricky because we had to protect our nice, new floors. Cardinal Flooring said to only use warm water to mop the floors. I’ve stuck to this and they still look great! We get many compliments and have referred three people already. (Not everyone went as dark as us.) My sister is remodeling a farm home in Plymouth, Ohio and had her downstairs done for $1,500. They look great as well!

Love & Laughter,

Tiffany

Leave a comment

Posts navigation

1 2 3 4 Next Page
instagram facebook pinterest bloglovin youtube twitter

Recent Posts

  • 2020 Reflections
  • Unprecedented. Pandemic.
  • Tips To Survive Quarantine From A Micro Preemie Momma
  • Why I List 10 Goals Every New Year & Try To Accomplish Them (Partially)
  • Isabella’s Hemangioma Update…We’re OFF Medication!

Recent Comments

  • Dustin Montgomery on It’s Beginning To Look A Lot Like RSV Season…
  • Tiffany on A Long Day Without Many Answers…
  • Patty Reppart on A Long Day Without Many Answers…
  • Kim stephens on An Evening Learning About Bare Minerals at Reflections Hair Design
  • Kim stephens on Are We There Yet? From Mansfield to Hungary

Archives

  • January 2021
  • March 2020
  • January 2020
  • October 2019
  • May 2019
  • February 2019
  • January 2019
  • December 2018
  • November 2018
  • October 2018
  • September 2018
  • August 2018
  • July 2018
  • October 2017
  • February 2017
  • January 2017
  • July 2016
  • June 2016
  • May 2016
  • April 2016
  • March 2016
  • February 2016
  • October 2015
  • September 2015
  • August 2015
  • July 2015
  • June 2015
  • May 2015
  • April 2015
  • March 2015
  • February 2015

Categories

  • Accessorize
  • Beauty
  • Blogging
  • Career
  • Celebrations
  • Church
  • Culture
  • Decor
  • DIY/Tutorials
  • DIY/Tutorials
  • Family
  • Friends
  • Home Tours
  • Isabella
  • Lifestyle
  • Marriage
  • Office Design
  • Relationships
  • Remodeling
  • Reviews/Hauls
  • Skincare
  • Stylish Finds
  • Travel
  • Uncategorized
poeticlaughter